
Core Work Flow
1.2 Create a Folder
Following are the steps to "Create a Sample Folder" -
1. On the Home Page, tap the Create Folder icon in the top-right (folder with a + sign).
2. A New Folder dialog appears — type a clear, unique name (for example the sample ID, case number or patient identifier).
3. Tap Save / Create. 4. The new folder appears on the Home Page grid.
4. If the folder does not appear, swipe down on the grid to refresh.
5. To rename the folder, long press the folder and tap on the Rename option.
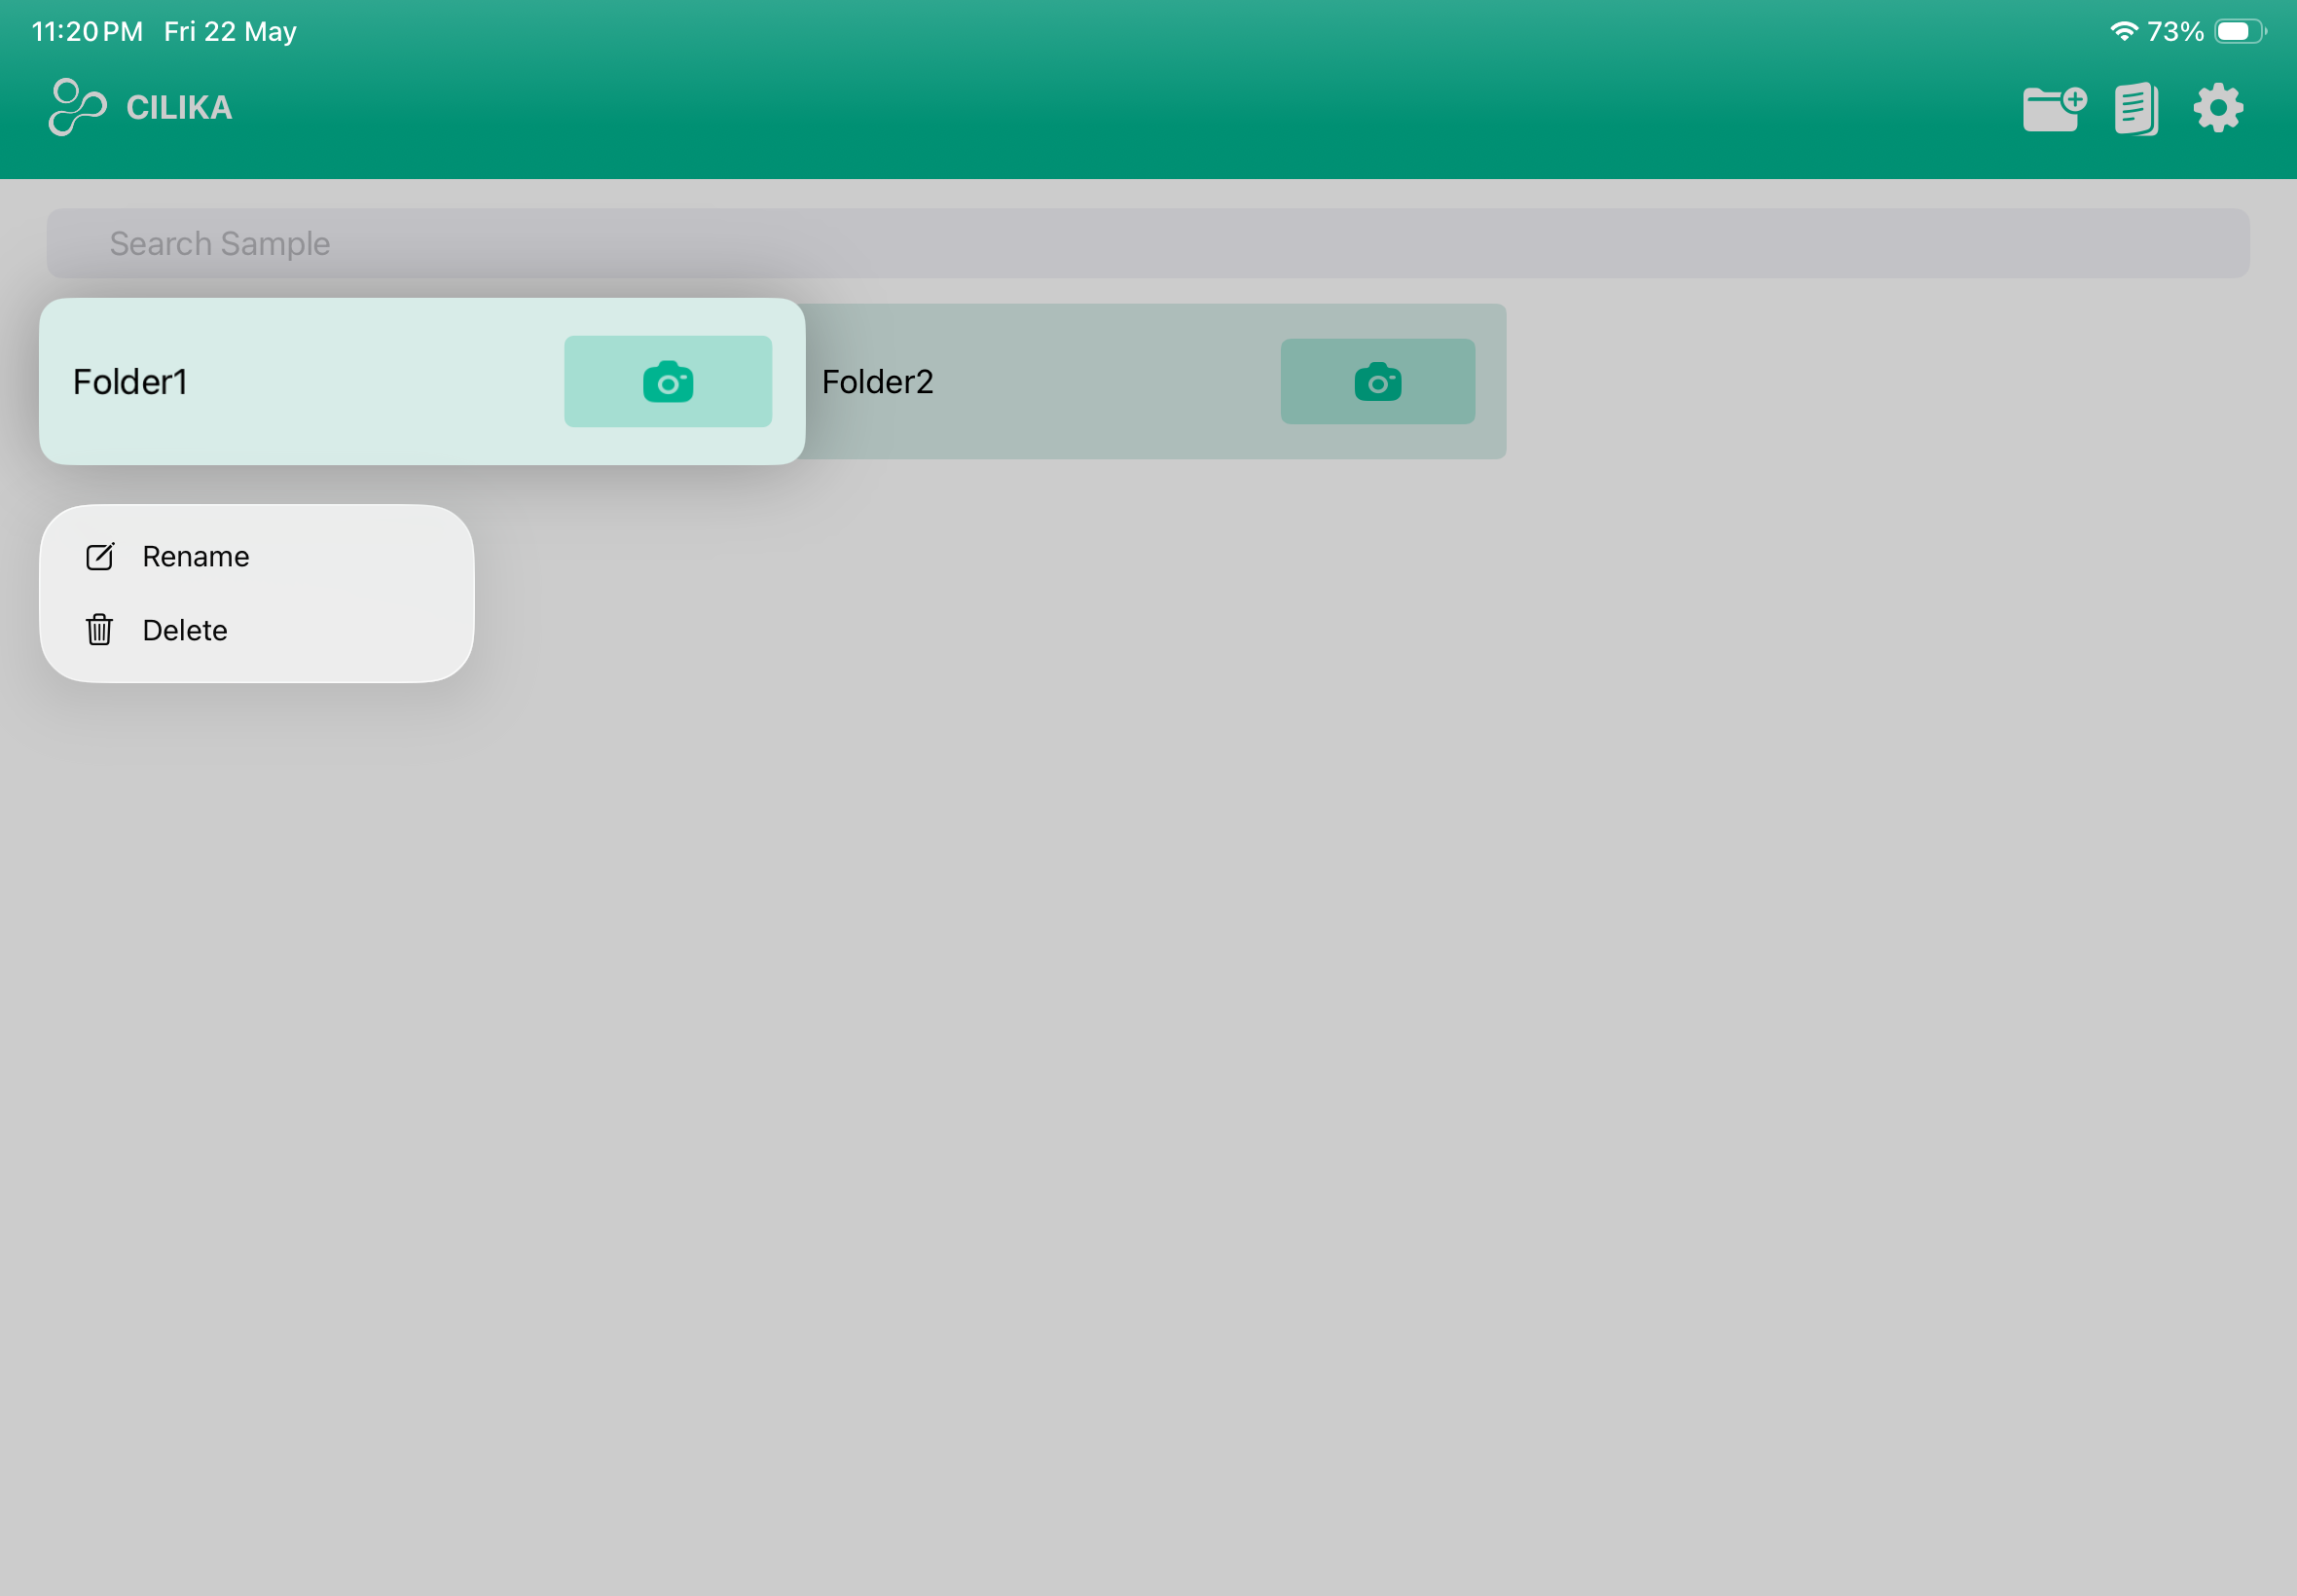
1.3 Create a File
On the Home Page:
1. Inside the folder, tap the Camera icon.
2. Wait for the Live Microscopic View to open.
3. Confirm you can see the microscope image on screen. If facing any issue go through the troubleshooting guide.
1.4 Understanding the Camera
UI of the camera screen
Live View — Screen Layout:
Top bar
1. Back (‹) arrow → tap the Back (‹) arrow to return to the folder.
2. Crosshair / Reticle → shows/hides the center target.
3. Lock → locks the screen against accidental touches.
4. Settings (gear) → opens Camera Settings.
Left side
1. Zoom Slider → Use ▲ / ▼ arrows for fine adjustment.
Right side
1. Open Drawer → Opens a drop-down of annotation tools.
Zoom Slider
1. You can locate the Zoom slider on the left side of the screen.
2. Drag up to zoom in on the microscopic image and drag down to zoom out
3. Use ▲ / ▼ arrows for fine adjustments.
4. The range of the zoom is between 1.00x to 5.00x.
Bottom bar
1. Read the scale bar (example: 30.0µm).
2. Confirm the objective lens on the bottom-right (4x, 10x, 40x, 100x), this is to be selected same as microscopic magnification for best results.
3. Confirm the correct objective lens is selected.
4. To customize the objective lens, go through the App settings guide().
Recording
1. You can record either an image or a video.
2. Tap on the Circle Button located at the bottom center of the screen. To switch to video, you can tap on the Video Button to the left.
3. The video can be recorded with or without an audio.
Open Tab - Undo/Redo
1. Find the Open drawer located on your right.
2. By tapping on the Open drawer, a drop-down appears.
3. The drawer contains all the tools for markings, annotations and shapes.
3. Any annotations or measurements drawn can be undone or, redone and deleted viahere thisas option.well.
Cursor?
Teaching Pointer
1. A Teaching Pointer is a digital cursor on the screen and can be used to highlight specific cells or areas in the microscopic view. Institutions can use them as a way to teach.
2. By default, only 1 Teaching Pointer appears on the screen. However, up to 4 Teaching Pointers can be used together at any given point (go to general settings).
3. Hold and drag to move the pointers to your desired area.
Annotation Tools
|
Tools |
Symbol |
Feature |
Steps |
|
Freehand |
1.1. Tap the pencil icon in the drop down to create a freehand annotation. Hold your finger/stylus and trace.
1.2. Long-press or double tap the tool to open the Line Width, adjust line width.
1.3. If you wish to change the color of the annotation, tap on the red dot (●) in the drop down and change it to your desired color. |
||
|
Line\Arrow |
 |
1.1. A line appears once you tap on line/arrow icon.
1.2. Tap on it once again to adjust the line width according to your preference.
1.3. The length of the line can be adjusted using the two arrows located at both the two ends of the line.
1.4. As you move the line, the number located near the line changes. That's the distance (d) measured by the line, you can move it around by dragging it.
1.5. If you do not wish to have the measurement, simply tap on the M icon to switch the measurements off. |
|
|
Text |
A |
The Custom Text is used to type specific labels or add in custom notes for better identification. |
1.1. Tap the A tool, use the Custom Text dialogue box to type specific labels or notes directly onto your slide.
1.2. Once you have entered the desired text, tap the 'SET' button to place the annotation on the viewing field. |
|
Circle |
o |
1.1. Tap on the O icon to create a circle.
1.2. The size of the circle can be adjusted by dragging out the cursors.
|
|
|
Box |
□ |
1.1. Tap on the □ icon to create a box.
1.2. You can adjust the size of the box by moving the two cursors.
The height and width can be set by typing in the measurements according to your preference. Tap Set to
|
|
|
Dotted Marker |
S |
1.1. Tap on the S icon to get a dotted marker.
|
|
|
Enclosed Shape |
1.1. By tapping on the icon below the S icon, the tool will automatically connect your endpoint to your starting point with a straight line. |
Made a mistake?
| Tools | Symbols | Features | Steps |
| Undo |
↶ |
Reverses your last performed action or a series of action. |
1.1. Locate the undo icon at the very top of the open drawer.
1.2. Tap on it to reverse your last performed action or a series of action. |
| Redo |
↷ |
Reverses the Undo command, reapplying the changes you just removed. |
1.1. Locate the redo icon at the very top of the open drawer.
1.2. It will reverse the undo command reapplying the changes that have just been removed. |
| Erase | Erases only unwanted annotations. |
1.1 Scroll down and locate the erase Icon in the tools drawer.
1.2. Tap on the icon to erase the unwanted animation.
1.3. Tapping on it again, lets you adjust the wide of the eraser. Adjust it depending on how much area you want to erase.
|
|
| Delete All |
🗑 |
Instantly clears all current annotations, markings, and measurements from the live view or image. |
Rendering
Rendering helps to save multiple annotations and markings permanently on the current image so they all appear in the saved file.
1. Scroll down and locate the rectangle icon.
2. Tap on the icon to save your annotations and markings and render the image.
1.5 Camera Settings
| Enable Manual Exposure | Enabling this settings help lets you control the image's brightness, rather than letting the camera decide to get the exact creative look and lighting you want. |
|
Exposure Duration |
Known as the Shutter Speed, is the exact amount of time the camera's shutter remains open.
Adjust the Exposure Duration according to your liking. Glide the slider to the right to increase the shutter speed. |
| ISO | |
| Focus | |
| Hide Zoom Slider | This option hides the zoom slider on the live screen. |
| Color Option |
Disable Color Option - Removes select color option from open drawer. Enable Color Option |
| Measurement | |
| Configuration |
| Enable Manual Temperature | |
|
Temperature |
|
| Tint | |
| Focus | |
| Hide Zoom Slider | This option hides the zoom slider on the live screen. |
| Color Option |
Disable color Option - Removes select color option from open drawer. Enable color Option |
| Measurement | |
| Configuration |